
Cooking better
When to start a cooking timer
A timer is useful only when you know which moment starts the clock. Here is how to read the cue in a recipe.
 By Salsa
THE SHORT ANSWER
Start the timer when the timed action in the recipe actually begins: when food goes into the preheated oven, when a pan reaches the instructed simmer, or when a resting period starts. Read the sentence before the duration to find that trigger. When the timer rings, check the recipe's finish cue and the food itself.
“Cook for ten minutes” sounds precise, but its start point can be easy to miss. Heating a pan, bringing liquid to a simmer and cooking at that simmer are different stages. The timer belongs to the stage the recipe names.
This guide focuses on timed cooking steps. For the full preparation and cooking sequence, read our step-by-step recipe guide. Follow the original recipe or package when it defines a different start point.
Find the action before the number
Look for a verb and a condition. “Bring to a simmer, then cook for 10 minutes” asks you to reach a simmer first. “Place in the preheated oven and bake for 20 minutes” starts with the tray entering the oven. A recipe may instead say to begin in a cold oven. King Arthur Baking's sourdough examples explicitly use different timer instructions for cold and preheated starts.
| Recipe wording | Usual timer start | At the alarm |
|---|---|---|
| Preheat, then bake for a stated time | When the food goes into the preheated oven | Check the recipe's colour, texture or other finish cue. |
| Bring to a simmer, then simmer | When the liquid has settled into the instructed simmer | Check texture, liquid level and any further instruction. |
| Add food to boiling water, then cook | Usually when the food enters the water, unless the recipe or package says otherwise | Check the food at the stated time or at the early end of a range. |
| Rest after cooking | When the food leaves the heat or when the recipe names the rest | Continue with the recipe's serving or next-step instructions. |
| Chill for a stated period | When the prepared food is placed in the refrigerator | Check any set, temperature or handling instruction in the recipe. |
These are reading examples, not a universal rule for every food. If the author says “start counting when it returns to a boil” or “start timing as soon as the oven is switched on”, use that explicit instruction. Virginia Tech's recipe-writing guidance calls for steps in order with timing and cooking conditions stated clearly; an ambiguous source may need its author's notes.
Give each timed step its own start cue
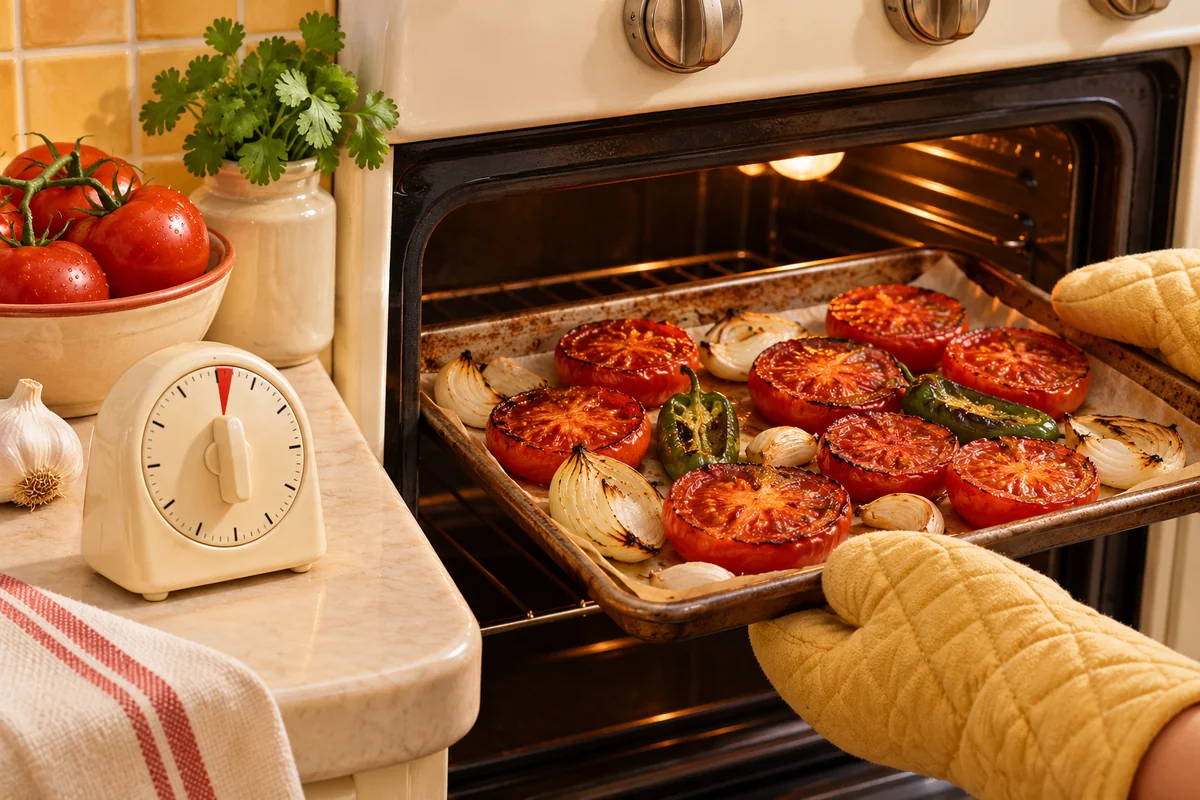
Imagine an illustrative method that says: “Heat the oven. Roast the vegetables for 20–25 minutes. Let them rest for 5 minutes.” The heating period, roasting period and rest are separate. Put the tray in once the oven reaches the recipe's temperature; start the roasting timer then. Check at 20 minutes for the recipe's finish cue. Start the rest timer when the tray comes out. These numbers illustrate how to read a method; they are not a tested vegetable recipe.
Likewise, if a sauce says “bring to a boil, reduce to a gentle simmer and cook for 15 minutes”, don't start the 15-minute countdown while the pot is still heating. Start it when the gentle simmer is established. Check the sauce during the simmer if the recipe says to stir or watch the liquid level.
A total recipe time is an estimate for planning the meal. It is not one countdown for the whole dish. Separate prep, heating, hands-off cooking, and resting periods so you don't lose the moment that matters. If two dishes are cooking at once, label each reminder by its next action—such as “check roast” or “drain pasta”—and start each when its own cue occurs.
When the timer rings, check the food
A timer says when to look; it does not certify that food is done. Ovens, pan sizes, ingredient amounts and starting temperatures vary. If a recipe gives a range, check at the early end and continue as needed. Use its described colour, tenderness, thickness or other finish cue before moving on.
For foods where safe internal temperature matters, use a food thermometer and the applicable guidance. FoodSafety.gov's safe minimum temperature chart says to verify raw meat, poultry, seafood and other listed foods with a thermometer; a timer alone cannot establish safety. Follow any required rest period in the recipe and safety guidance.
Read the complete timed sentence
Find the action immediately before the duration and any condition such as “preheated” or “at a simmer”.
Start at that event
Use one reminder for the named stage. Keep a separate reminder for a later rest or second cooking stage.
Check at the alarm
Compare the food with the recipe's finish cue and use a thermometer where safety requires one.
Keep the timer beside the instruction
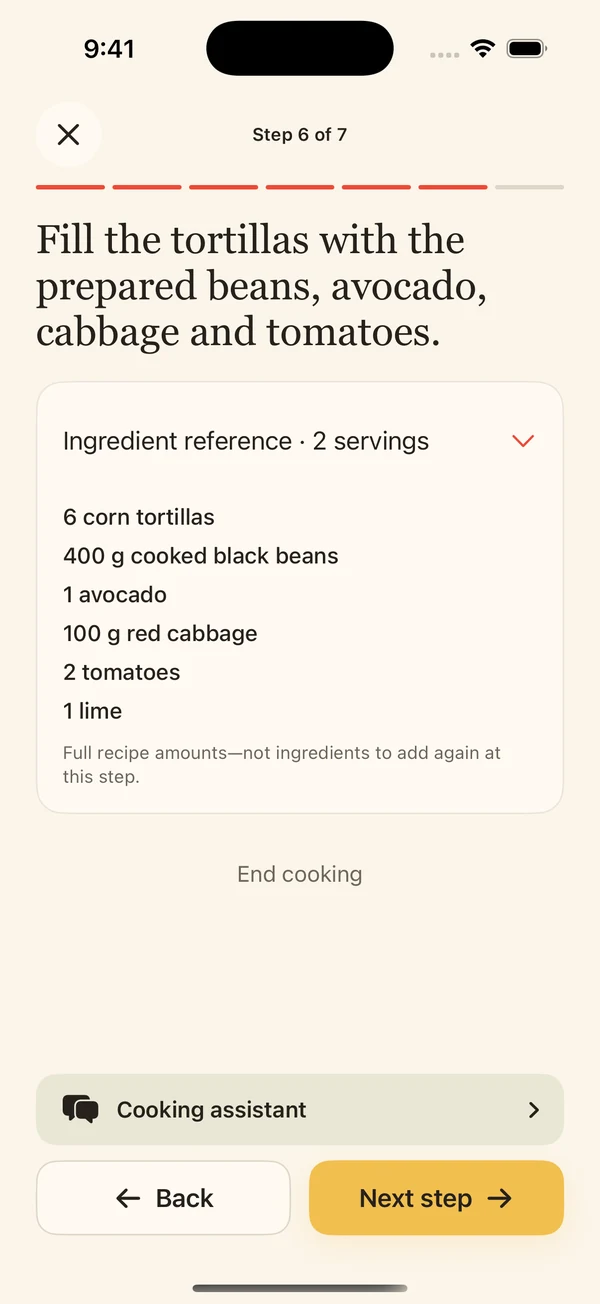
Salsa's current iPhone app shows recipe steps with ingredient amounts and provides relevant timers that you start, according to its App Store listing. Read the step, wait for its actual start cue, and start the timer when the action begins. The app does not decide whether your food is cooked or safe.
Keep your phone clear of hot pans and splashes. For a saved recipe, compare any unclear timing with the original source before cooking.
Common questions
Does “simmer for 10 minutes” include bringing the pot to a simmer?
Usually the ten minutes begin once the instructed simmer is established. Read the sentence and any author notes; an explicit alternate start point takes precedence.
Do I start a baking timer when I turn the oven on?
For a recipe that says to preheat, start when the food enters the preheated oven. A cold-oven recipe may direct you to time from a different point.
What if the recipe gives a range, such as 20–25 minutes?
Set a reminder for the early end and check the stated doneness cue. Continue cooking and check again if needed.
Does the timer prove meat or poultry is safe?
No. Use a food thermometer and the safe minimum temperature and rest guidance that apply to that food.